This short procedure reuses existing service step pages. Edit the referenced step pages to update this procedure everywhere.
WARNING
Read Safety instructions before starting. Remove the kill switch to prevent accidental motor start. Keep the motor shaft free of rotation during service.
Required tools
Required parts
- 🗑 Safety nut M12 A4 (011020005) — not reusable
- Washer M12 A4 (011030015)
- 🗑 Anode M12 (020010004) — not reusable, sacrificial anode for corrosion protection
- Propeller (047010001)
Disassembly
DT-DIS-001 DISASSEMBLY STEP 1 - Remove anode
Tools:
Removing parts:
Procedure:
Link to original
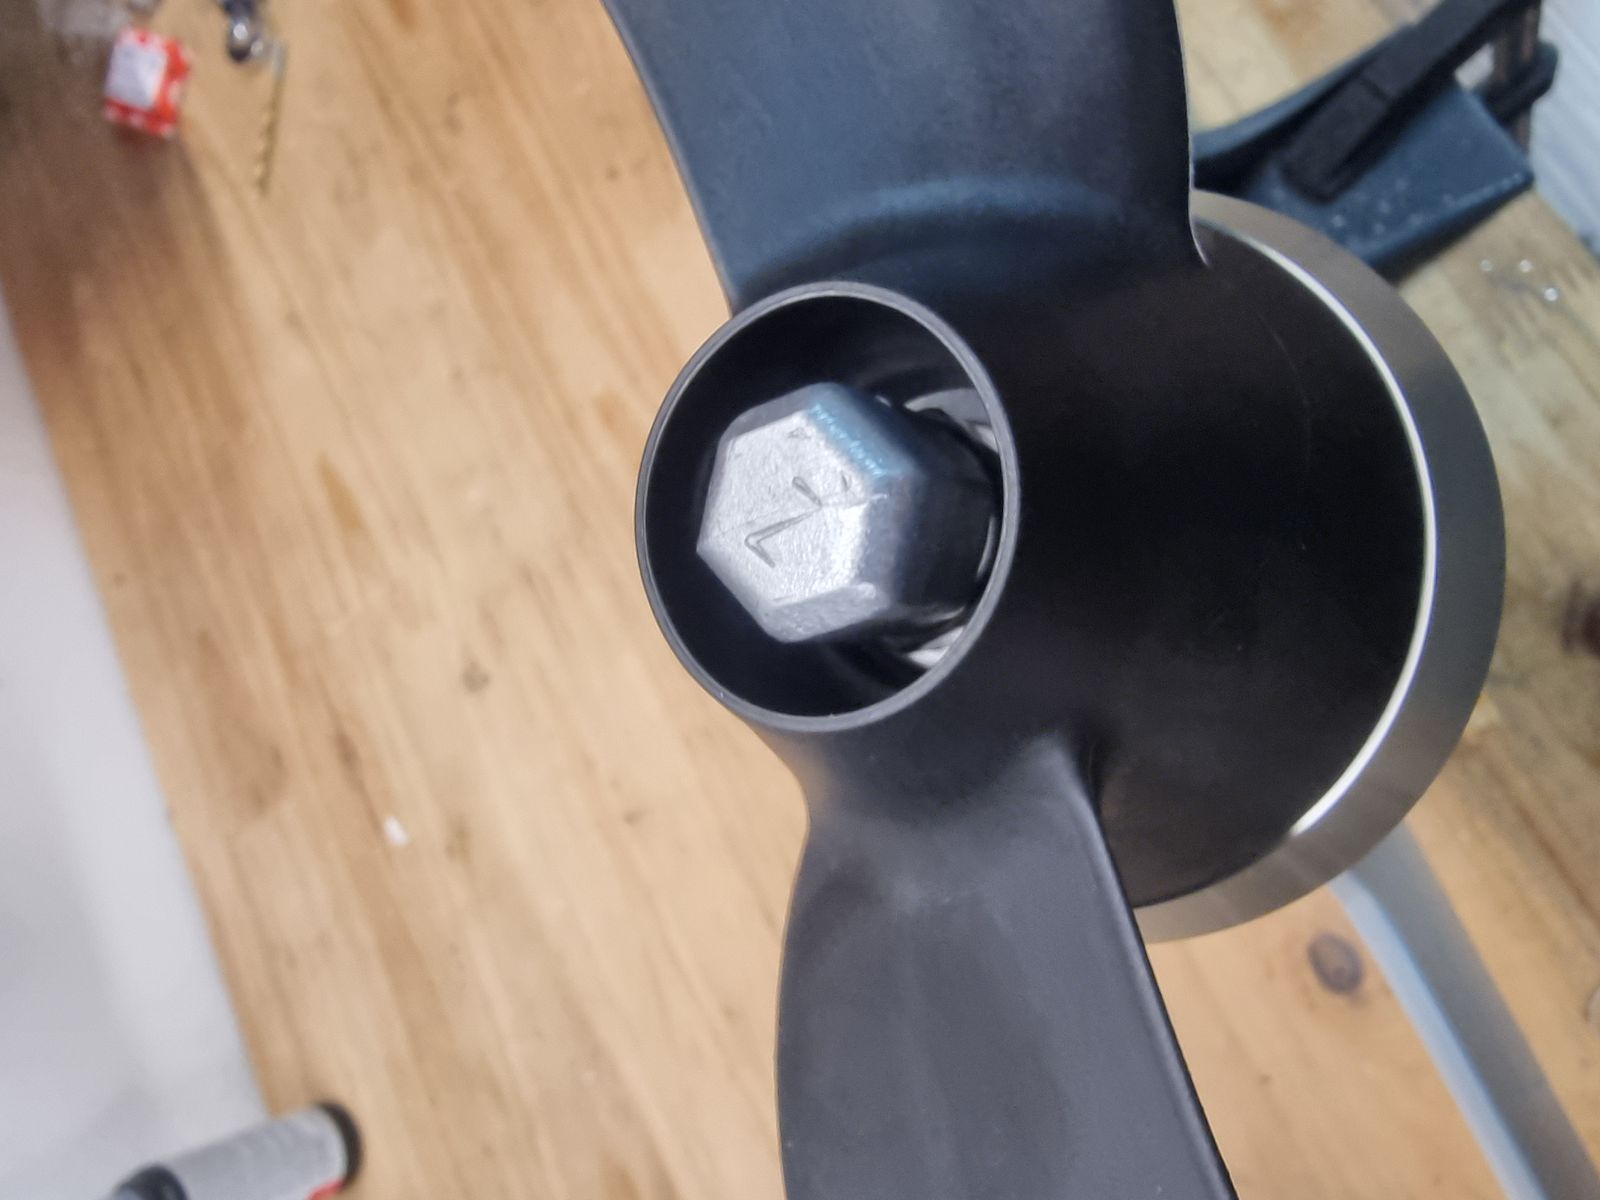
- Loosen the anode using a 19 mm socket.
- Remove the anode from the shaft.
DT-DIS-002 DISASSEMBLY STEP 2 - Remove safety nut
Tools:
Removing parts:
Procedure:
Link to original
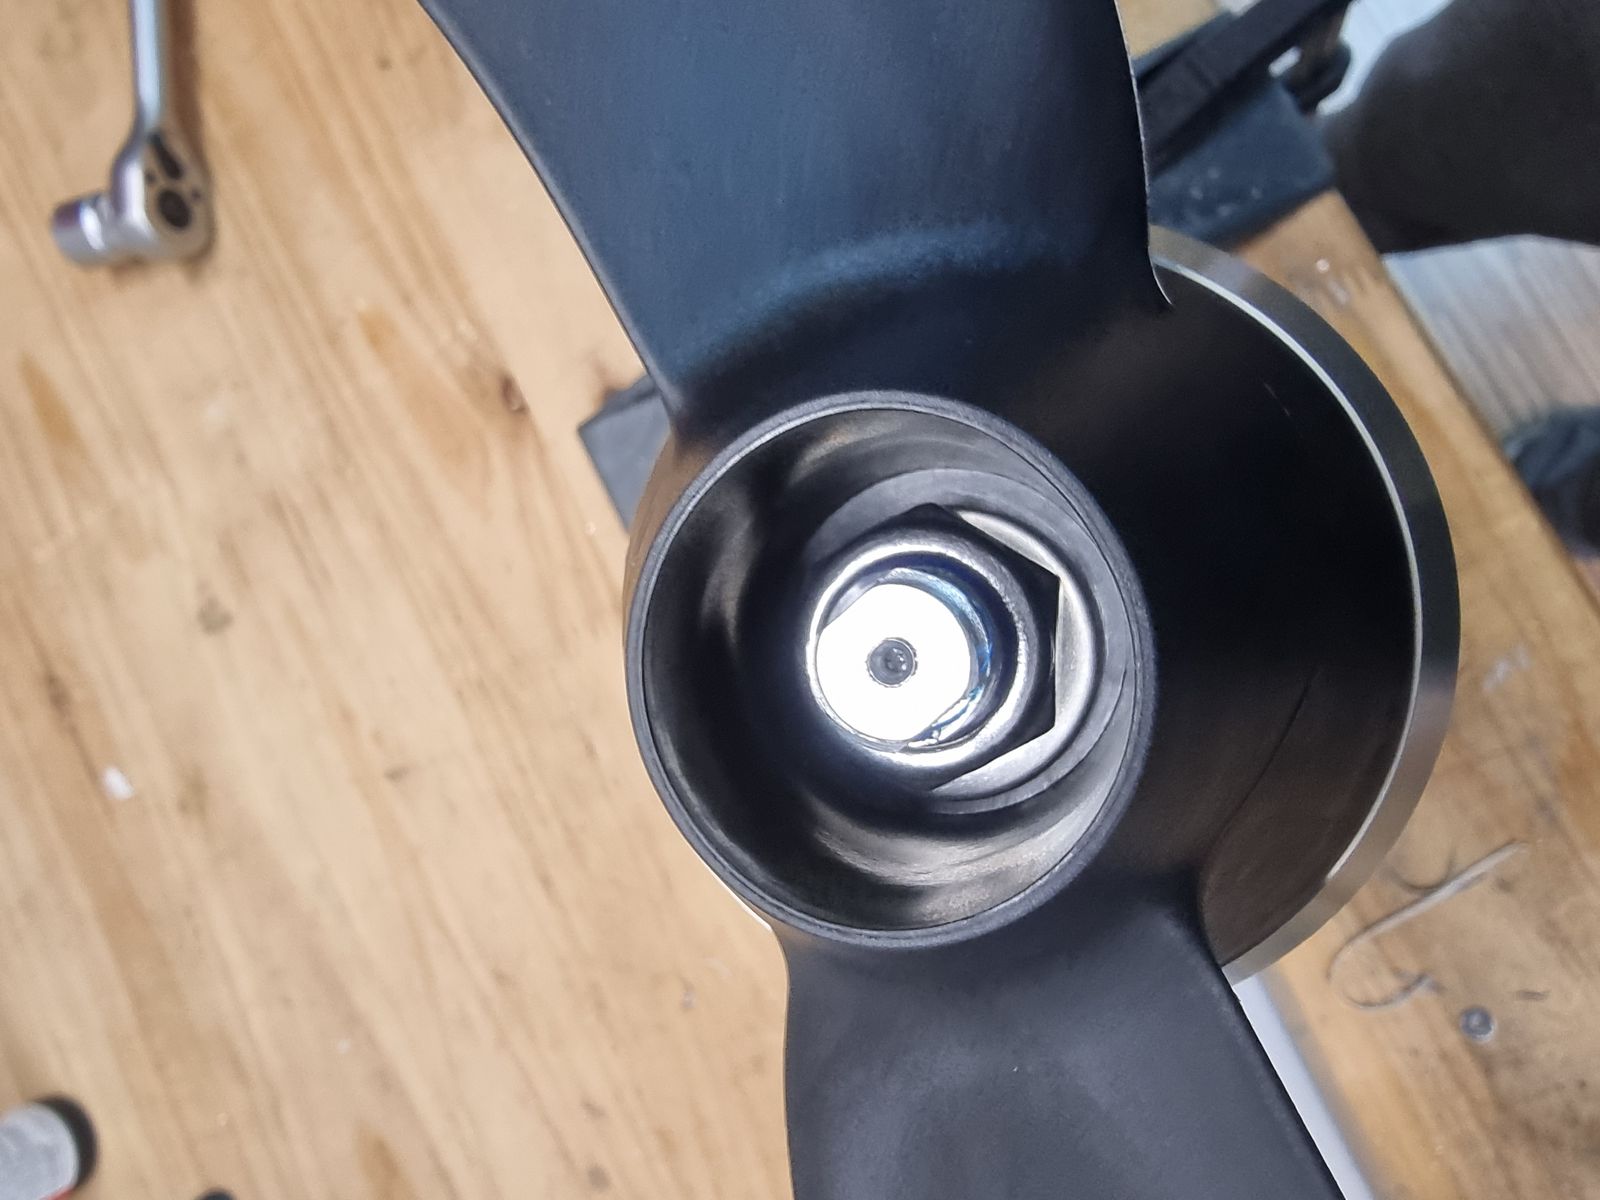
- Loosen the safety nut using a 19 mm socket.
- Remove the safety nut from the shaft.
DT-DIS-003 DISASSEMBLY STEP 3 - Remove washer and propeller
Tools:
- No tools required.
Removing parts:
Procedure:
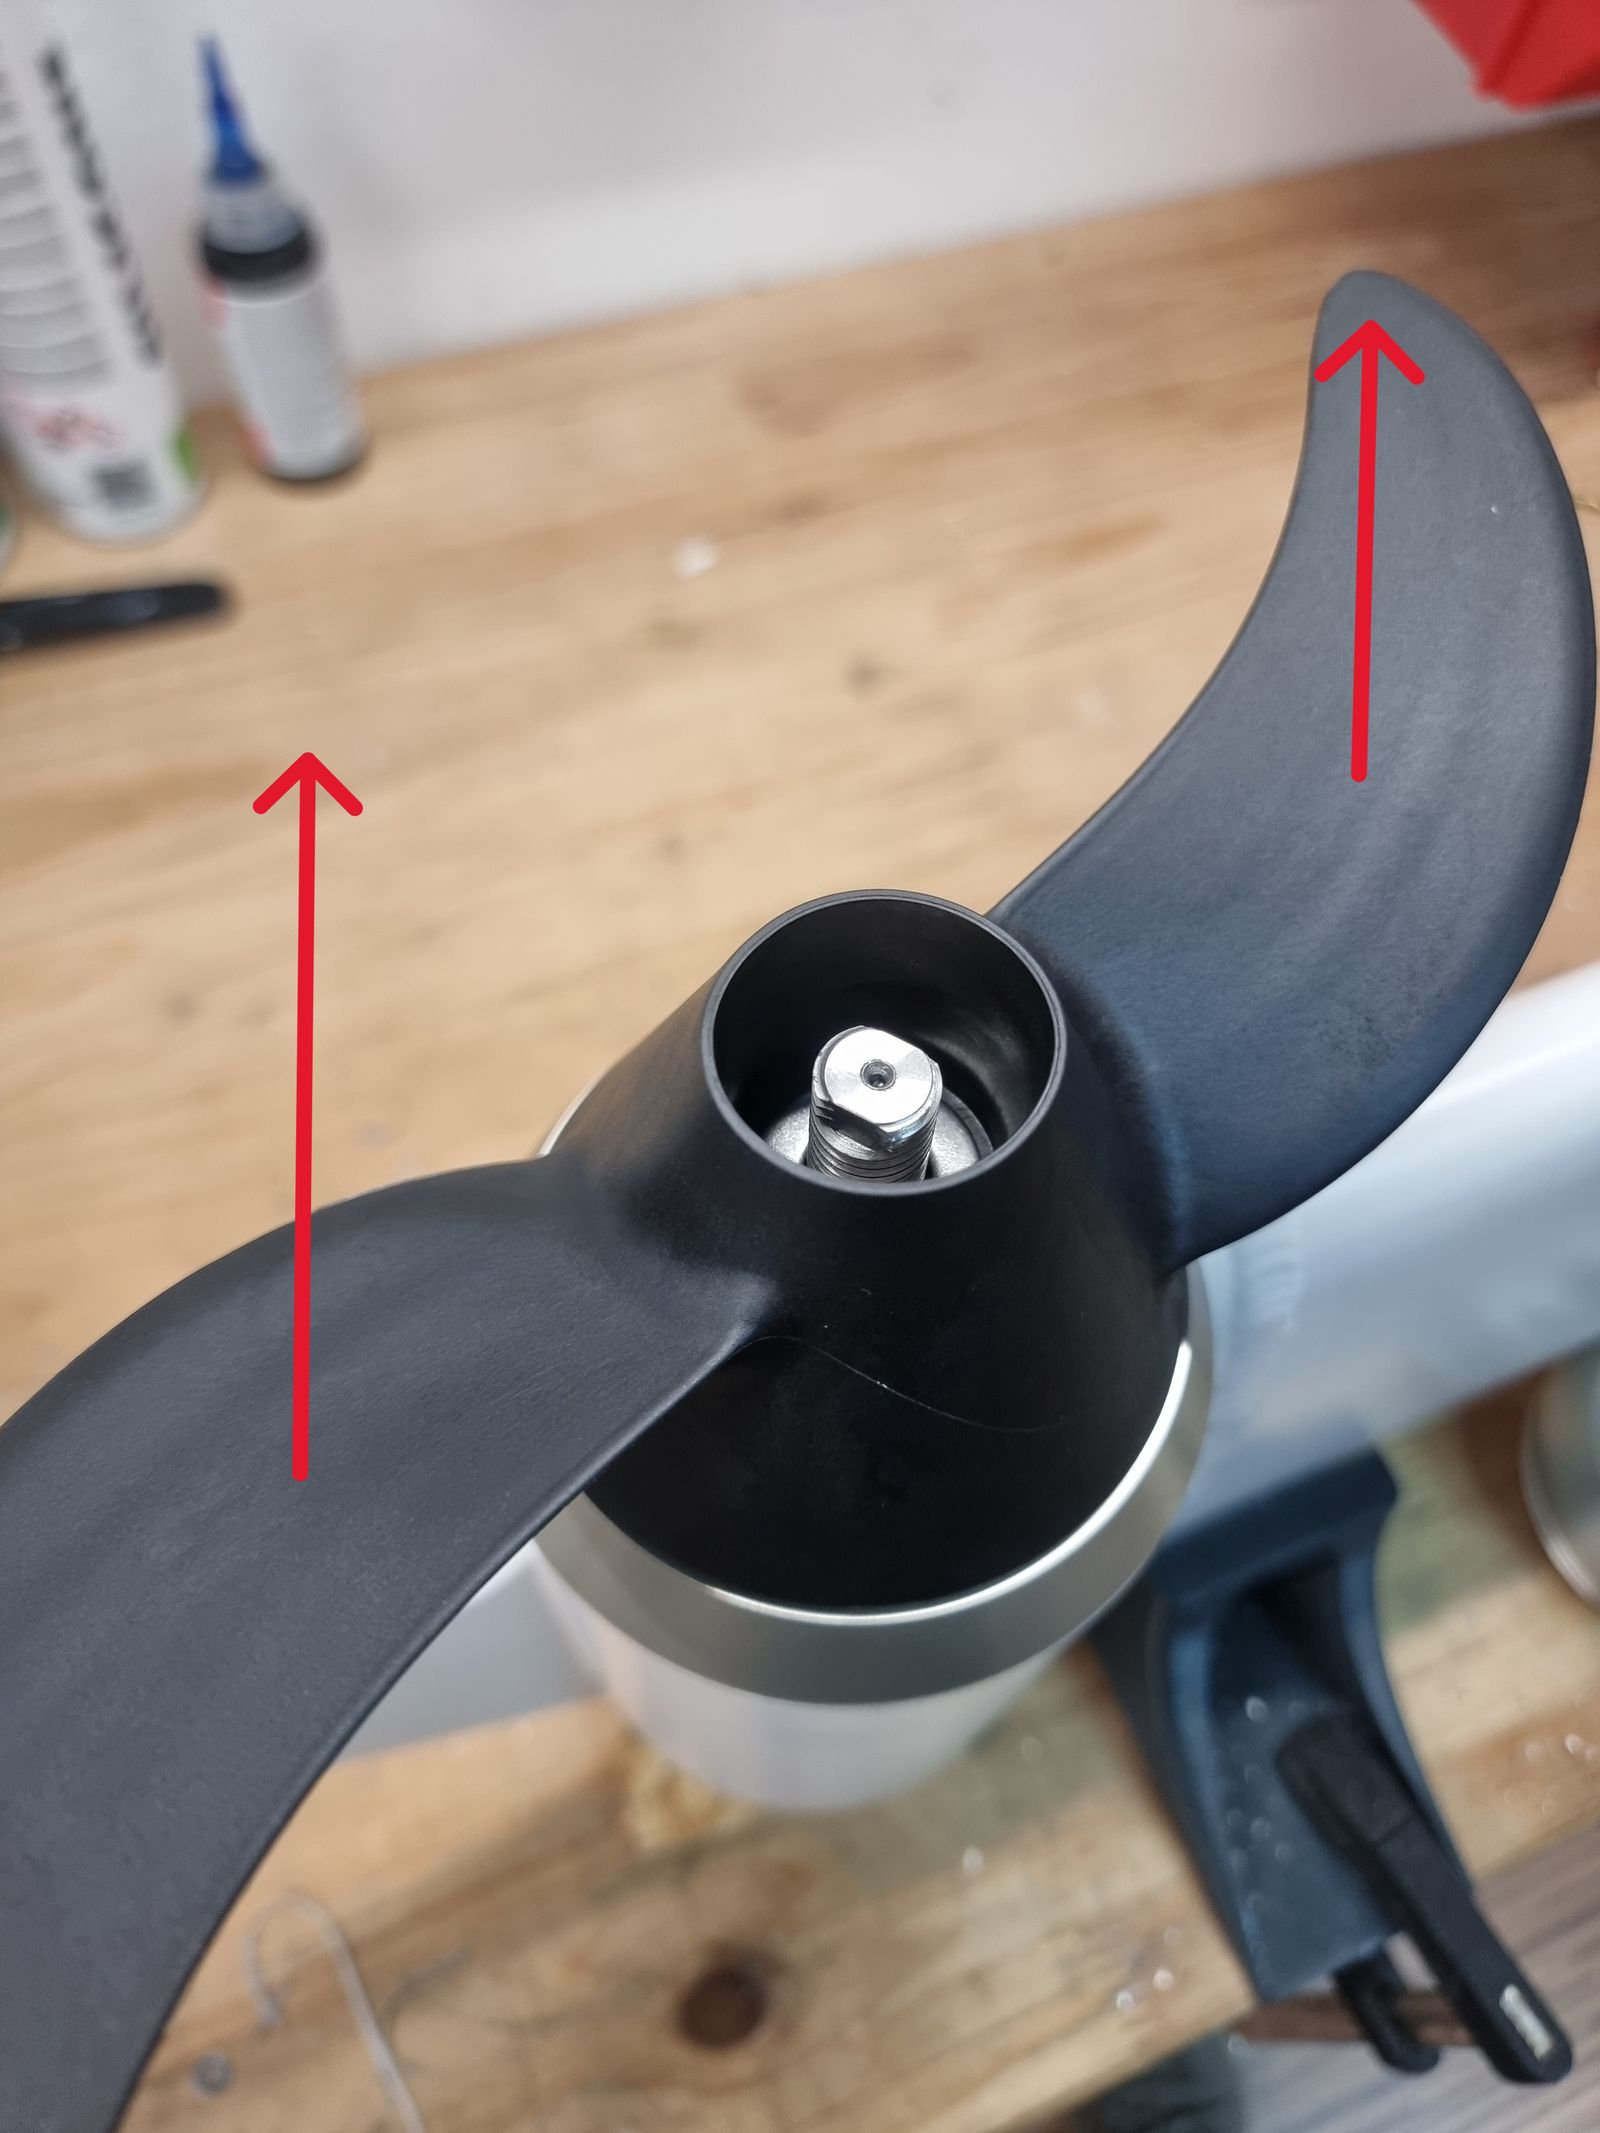
- Remove the washer from the shaft.
- Remove the propeller by pulling it from the propeller hub.
Link to originalCAUTION
Do not pull the propeller by only one fin. Pull evenly to avoid damaging the propeller or shaft.
Check
DT-CHK-001 CHECK STEP 1 - Inspect propeller, shear pin and anode
Tools:
- No tools required.
Procedure:
- Inspect the propeller for bent, cracked or missing blades and check the propeller hub for damage.
- Inspect the shaft for visual damage, especially in the area of the propeller and washer seat.
- Inspect the anode for wear. Replace if worn beyond the acceptance criteria.
CAUTION
🗑 The Shear pin (901050006) and Safety nut M12 A4 (011020005) must not be reused. The shear pin is designed to fail under overload and the safety nut loses its locking torque once removed — always install new ones.
Link to originalTODO
Define the anode wear acceptance criteria (e.g. minimum remaining material) and the propeller damage acceptance criteria (nick/bend limits before replacement is required).
Reassembly
DT-ASM-026 ASSEMBLY STEP 26 - Install propeller and washer
Tools:
- No tools required.
Installing parts:
Procedure:
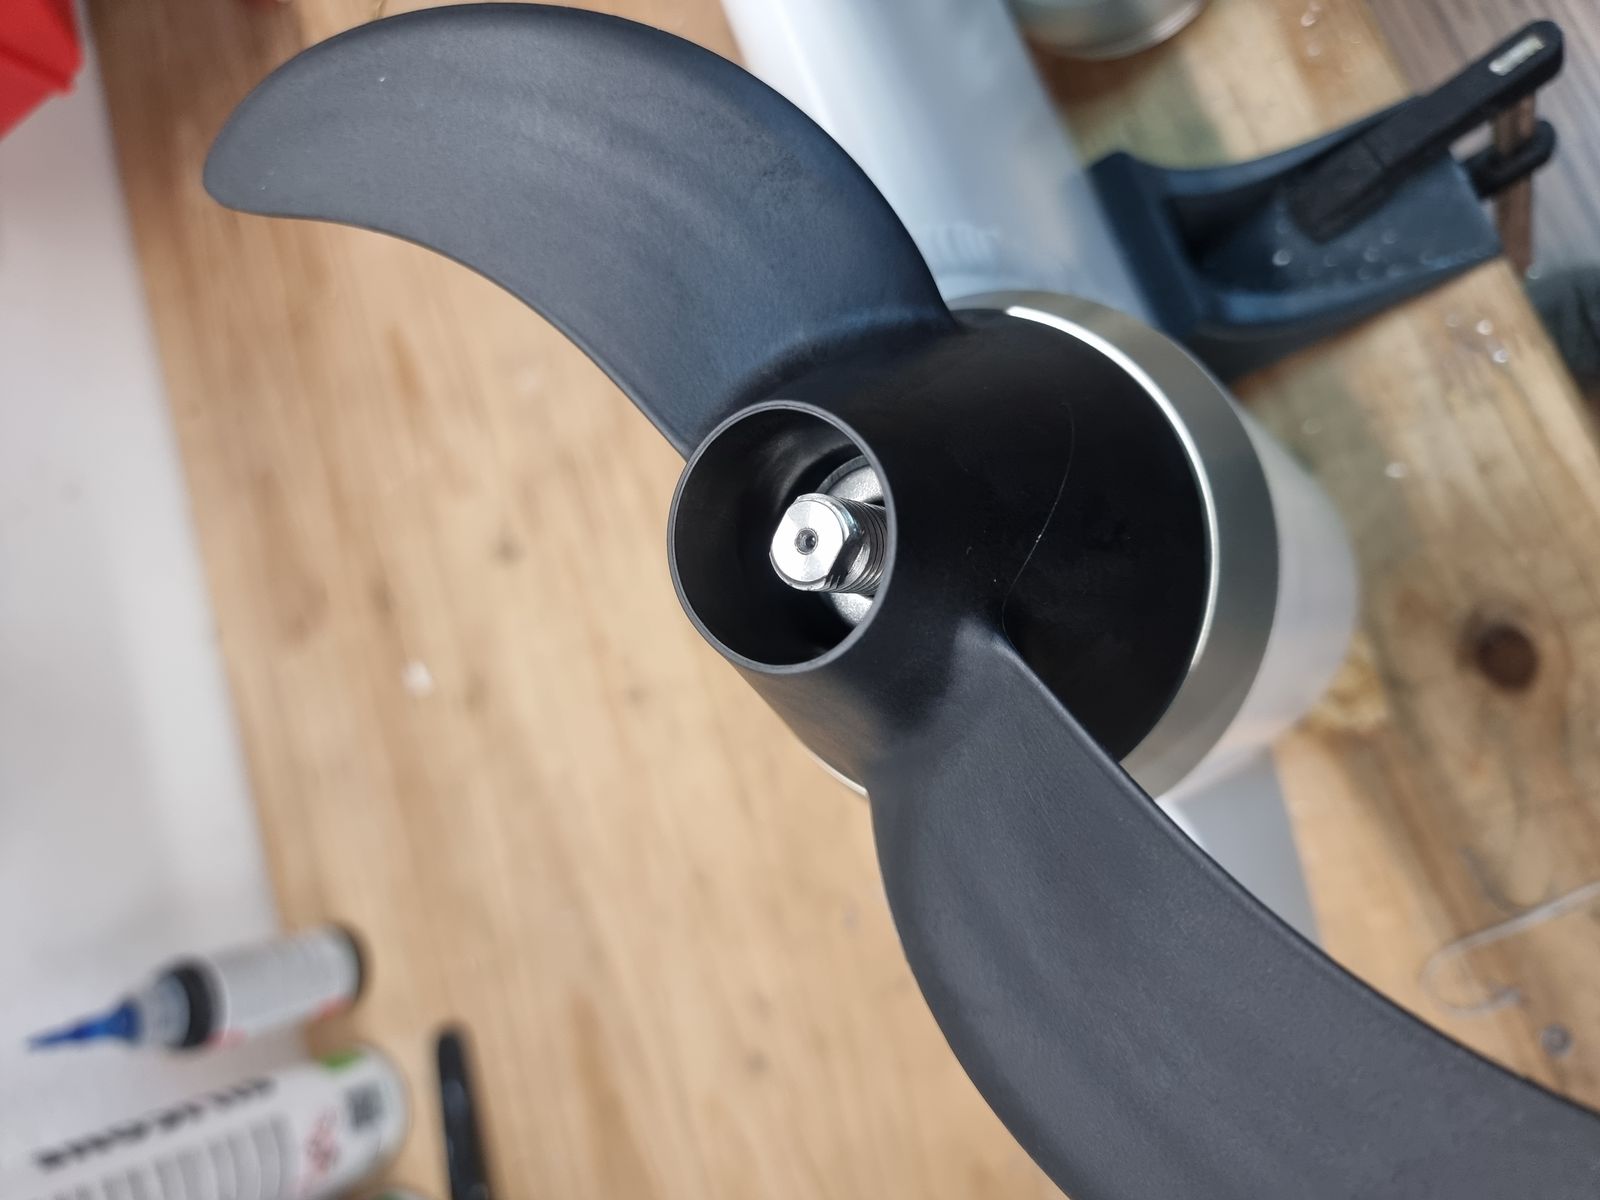
- Align the recess in the propeller with the shear pin.
- Slide the propeller onto the shaft.
- Slide the washer onto the shaft with the sharp edge of the washer facing down.
Link to originalCAUTION
Make sure the propeller is correctly seated on the shear pin before continuing.
DT-ASM-027 ASSEMBLY STEP 27 - Install safety nut and anode
Tools:
Installing parts:
Procedure:
Link to original
- Install the safety nut until it bottoms out.
- Install the anode until it bottoms out.


Color key
Blue = Disassembly · Red = Check · Green = Reassembly
TODO
This procedure currently has the same steps as Propeller and anode replacement. Confirm whether “Replace propeller” should be a subset that skips anode removal/reinstallation, or whether the two short procedures should be merged.