This short procedure reuses existing service step pages. Edit the referenced step pages to update this procedure everywhere.
WARNING
Read Safety instructions before starting. Remove the kill switch before starting any service procedure to prevent accidental motor start.
Required tools
Required parts
- 🗑 Anode tiller bracket (020010006) — not reusable, sacrificial anode for corrosion protection
- Bolt (3x), nut (2x)
Disassembly
TL-DIS-001 DISASSEMBLY STEP 1 - Remove anode tiller bracket
Tools:
Removing parts:
- 🗑 Anode tiller bracket (020010006) — not reusable, sacrificial anode for corrosion protection
- Bolt (3x), nut (2x)
Procedure:
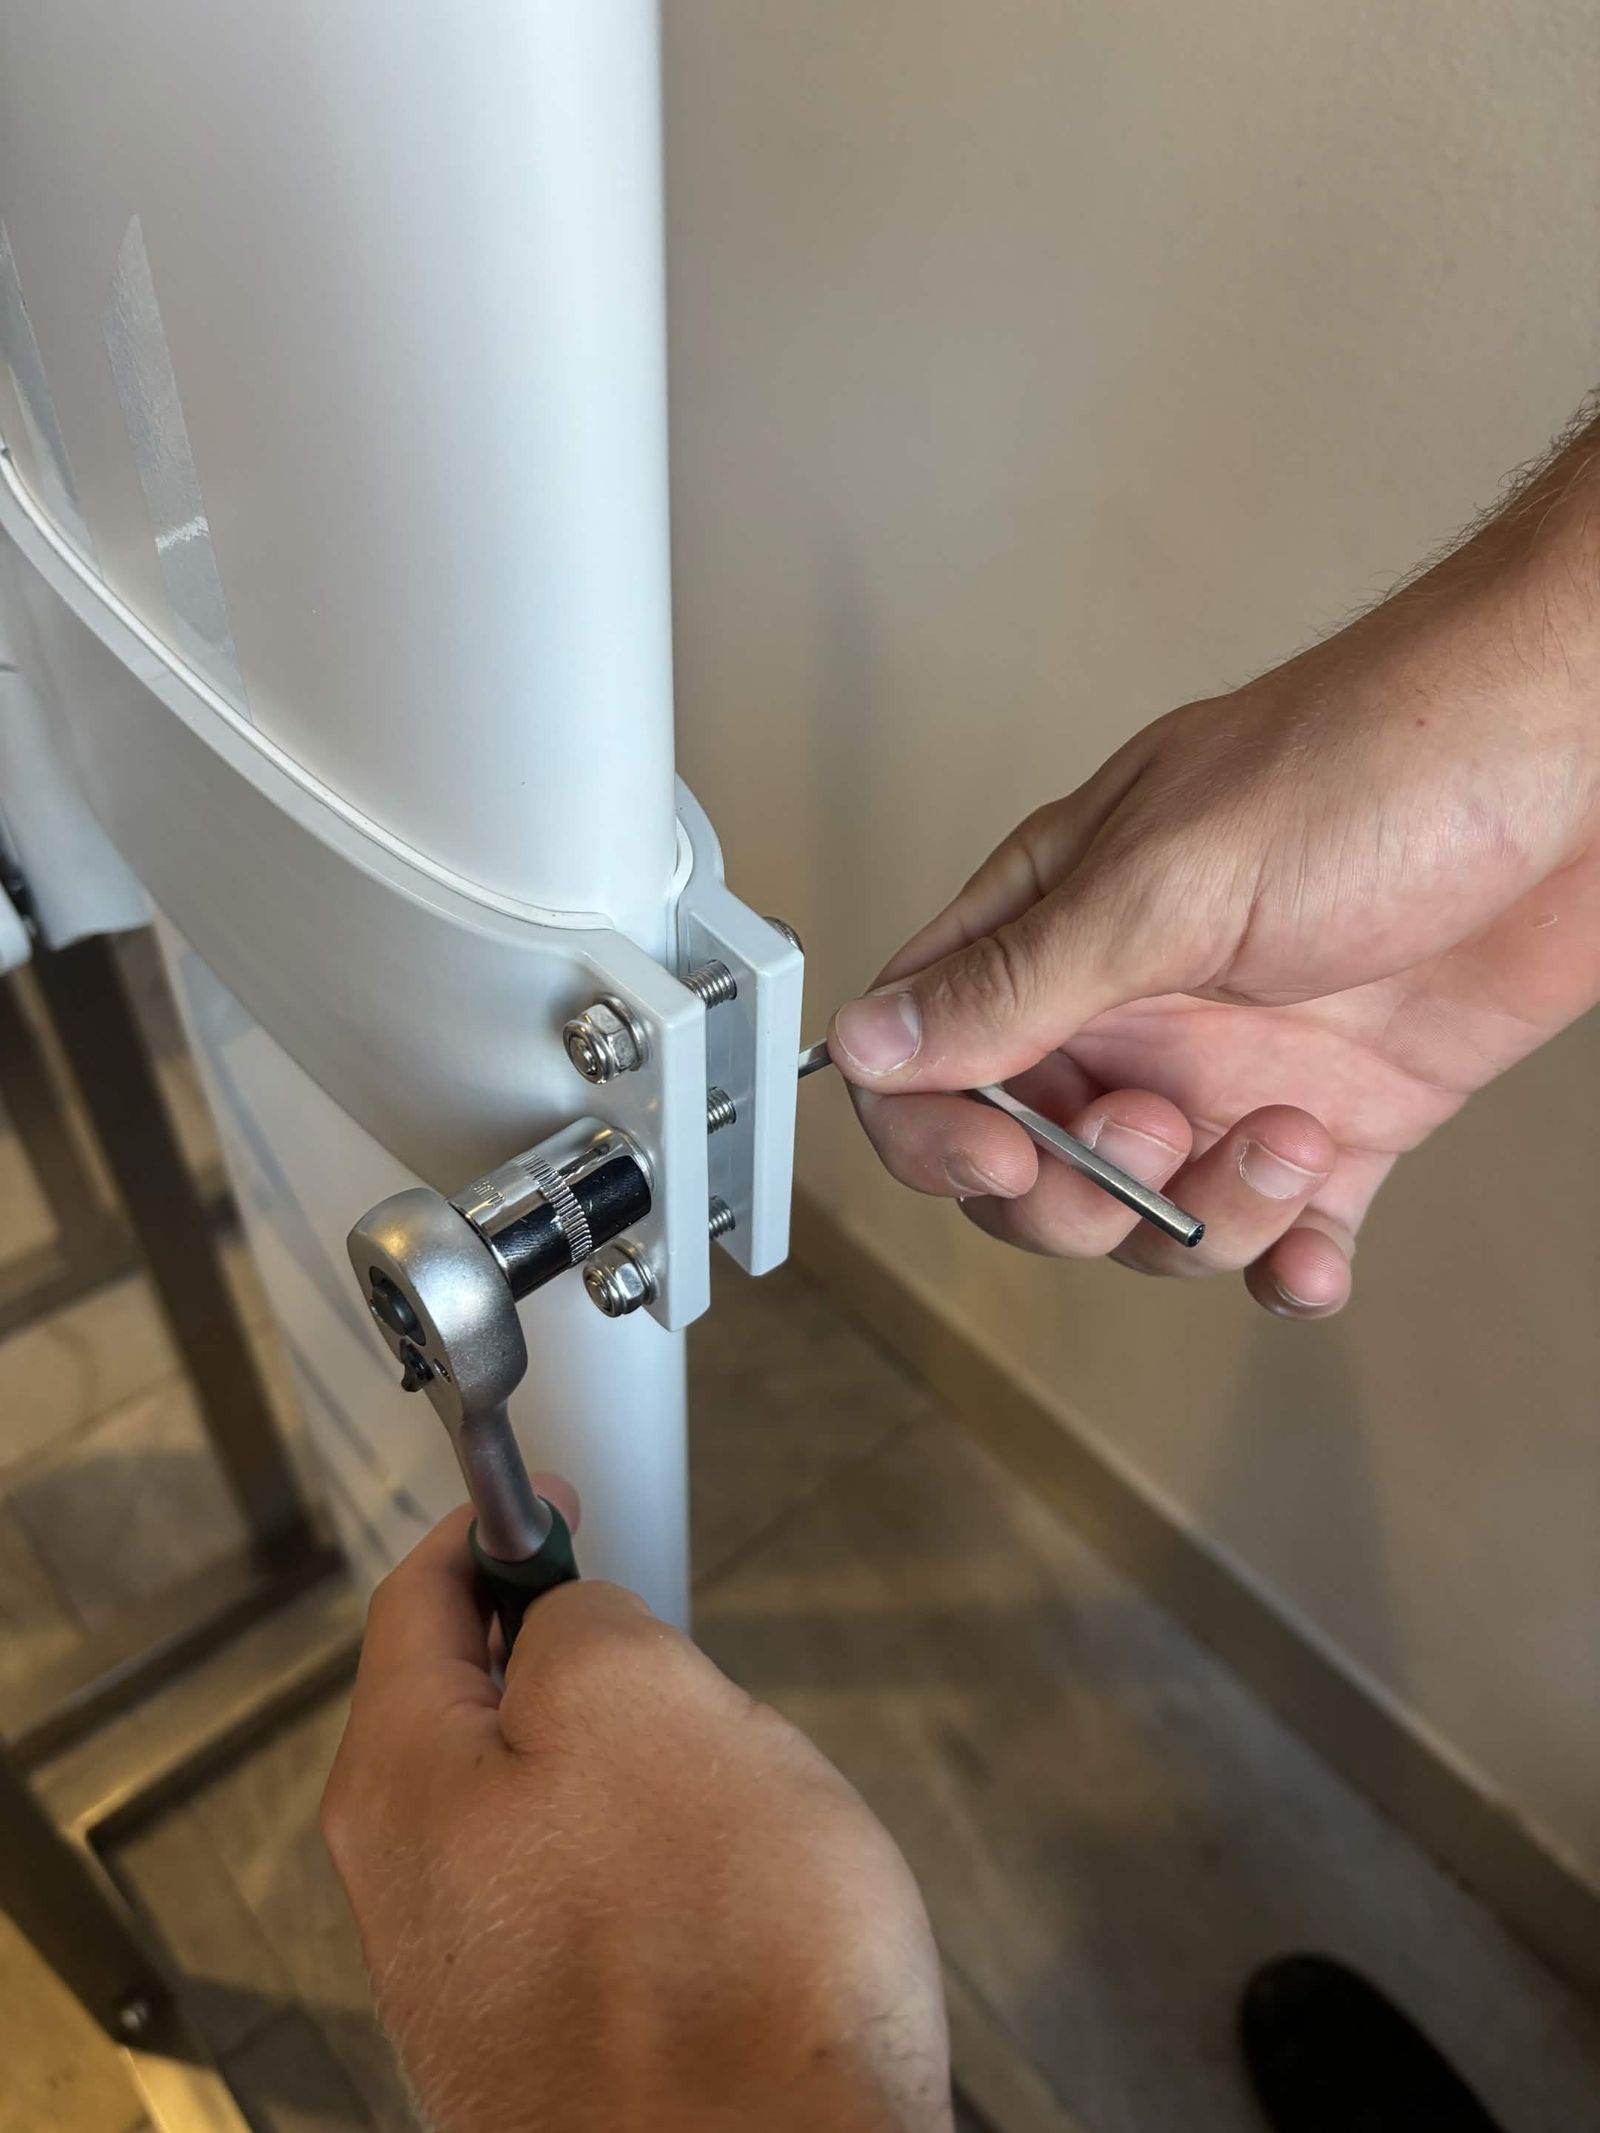
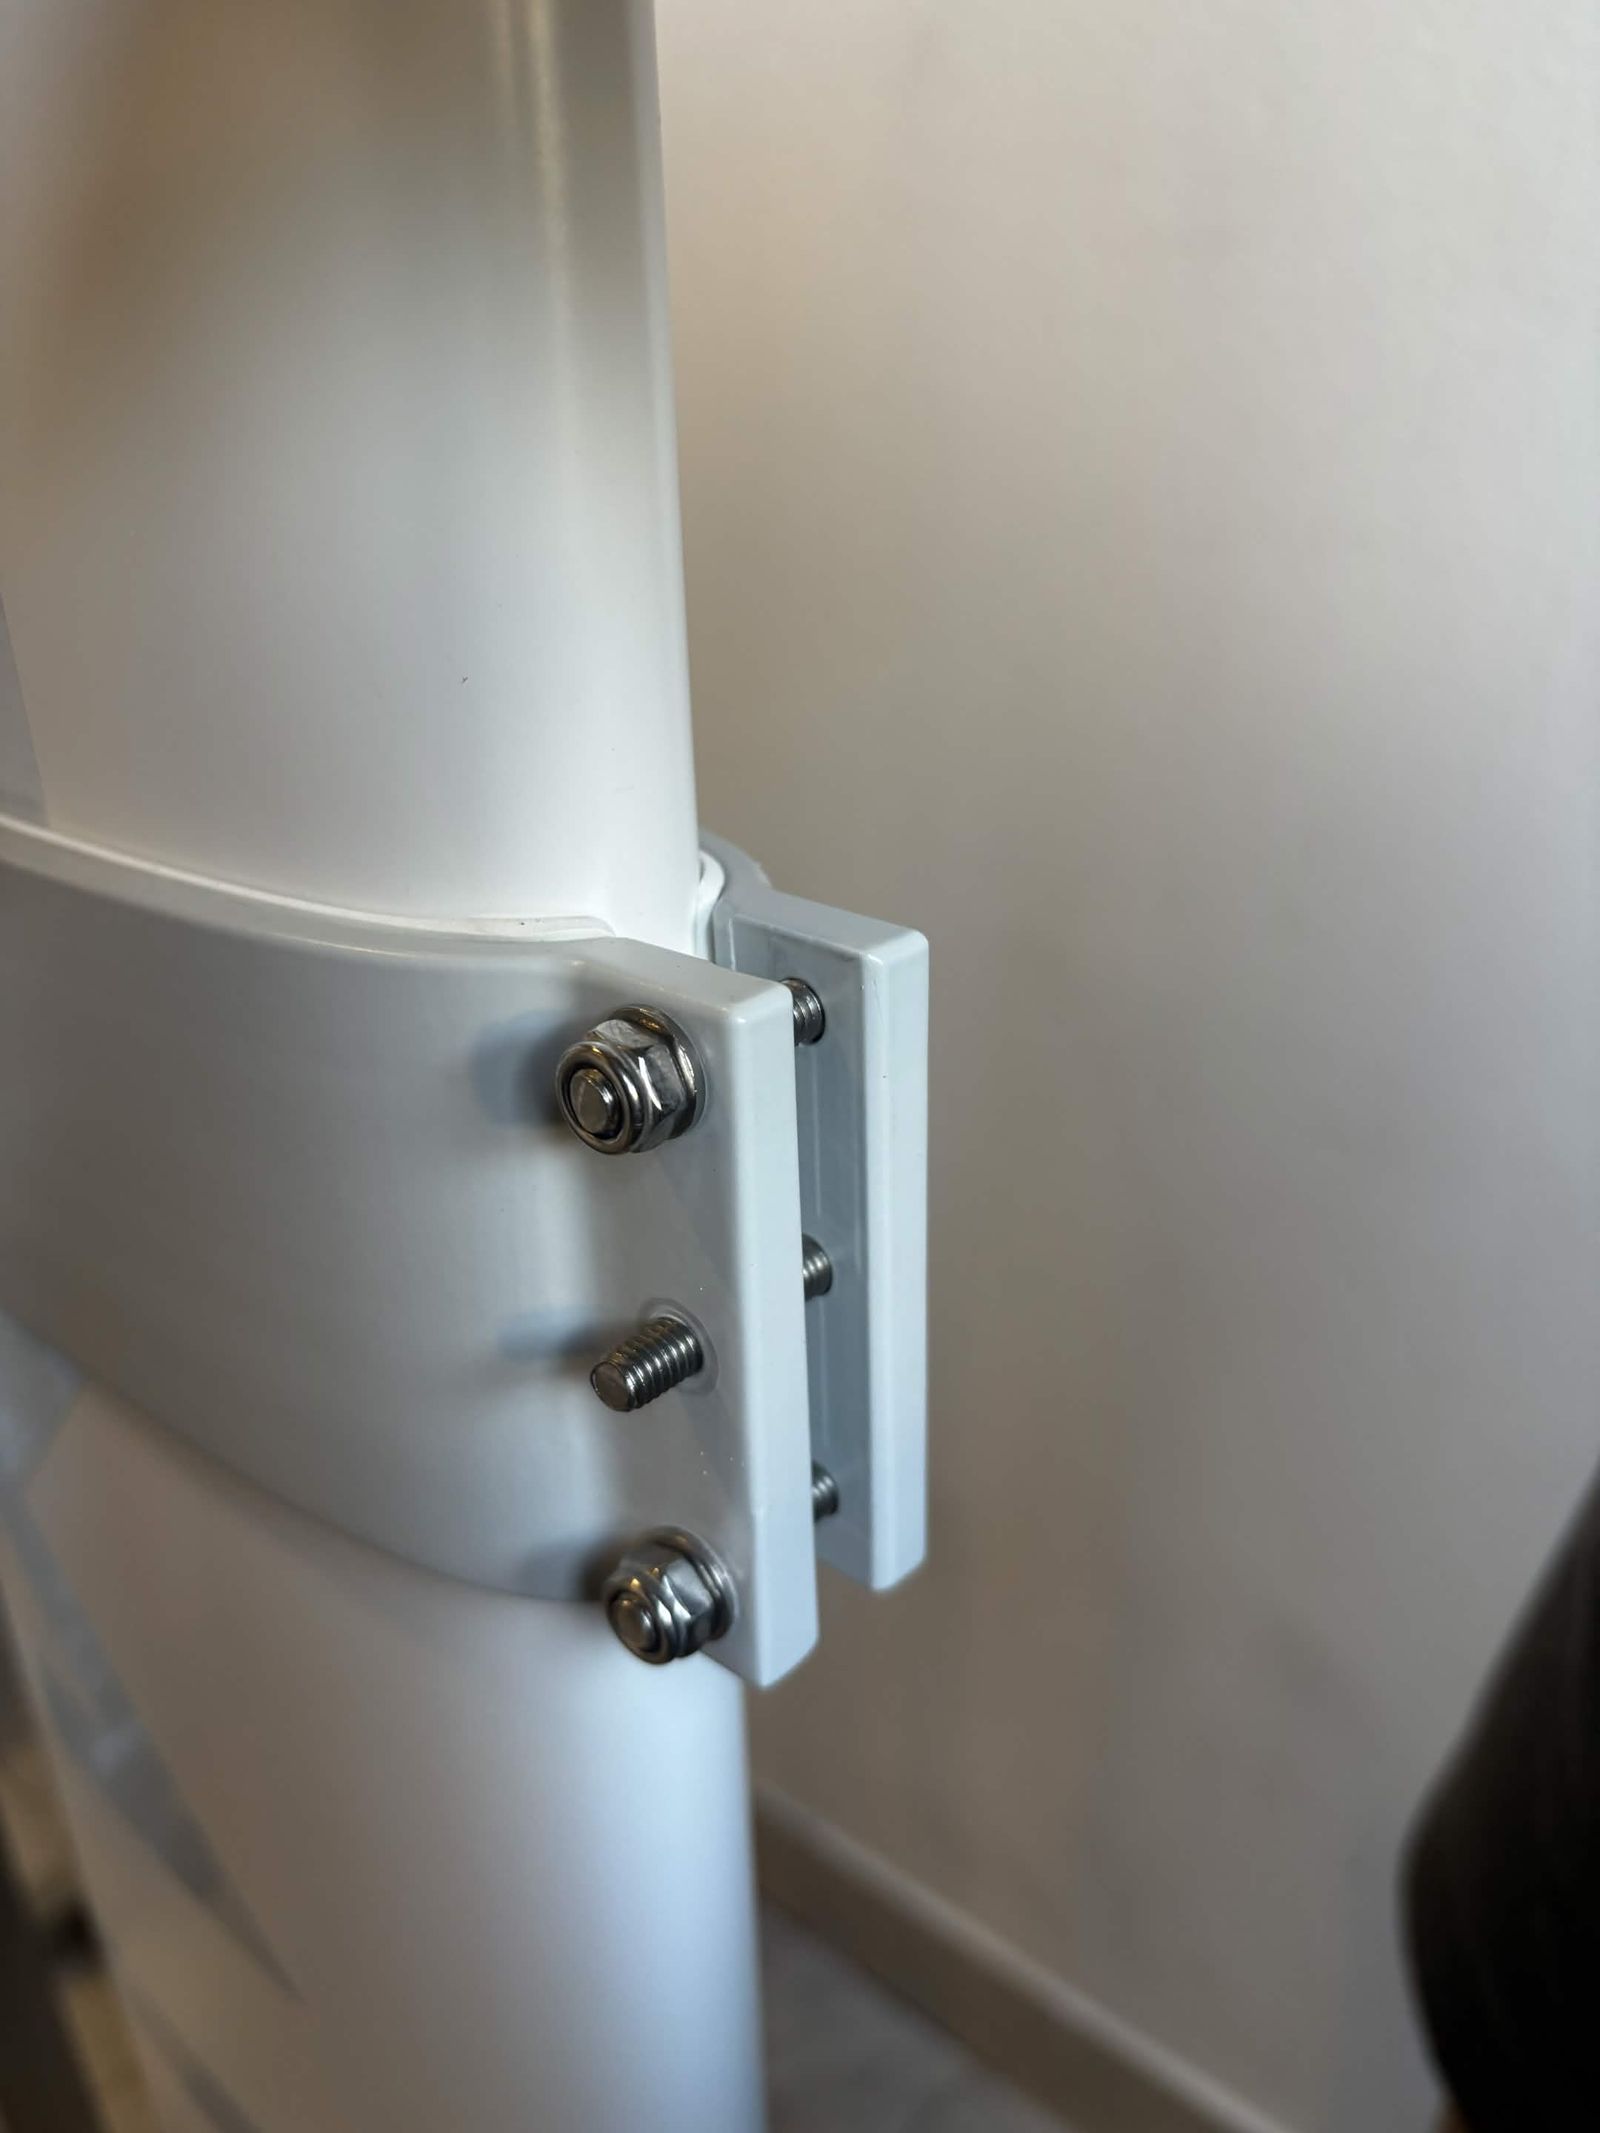
- Hold each bolt head with the hex key and loosen the matching nut with the 13mm socket wrench.
- Repeat for the remaining bolt/nut positions.
- Remove the anode tiller bracket from the tiller tube.
Link to originalTODO
Confirm the hex key size and the exact part numbers for the anode, bolts and nuts.
Reassembly
TL-ASM-001 ASSEMBLY STEP 1 - Install anode tiller bracket
Tools:
Installing parts:
- Anode tiller bracket (020010006)
- Bolt (3x), nut (2x)
Procedure:
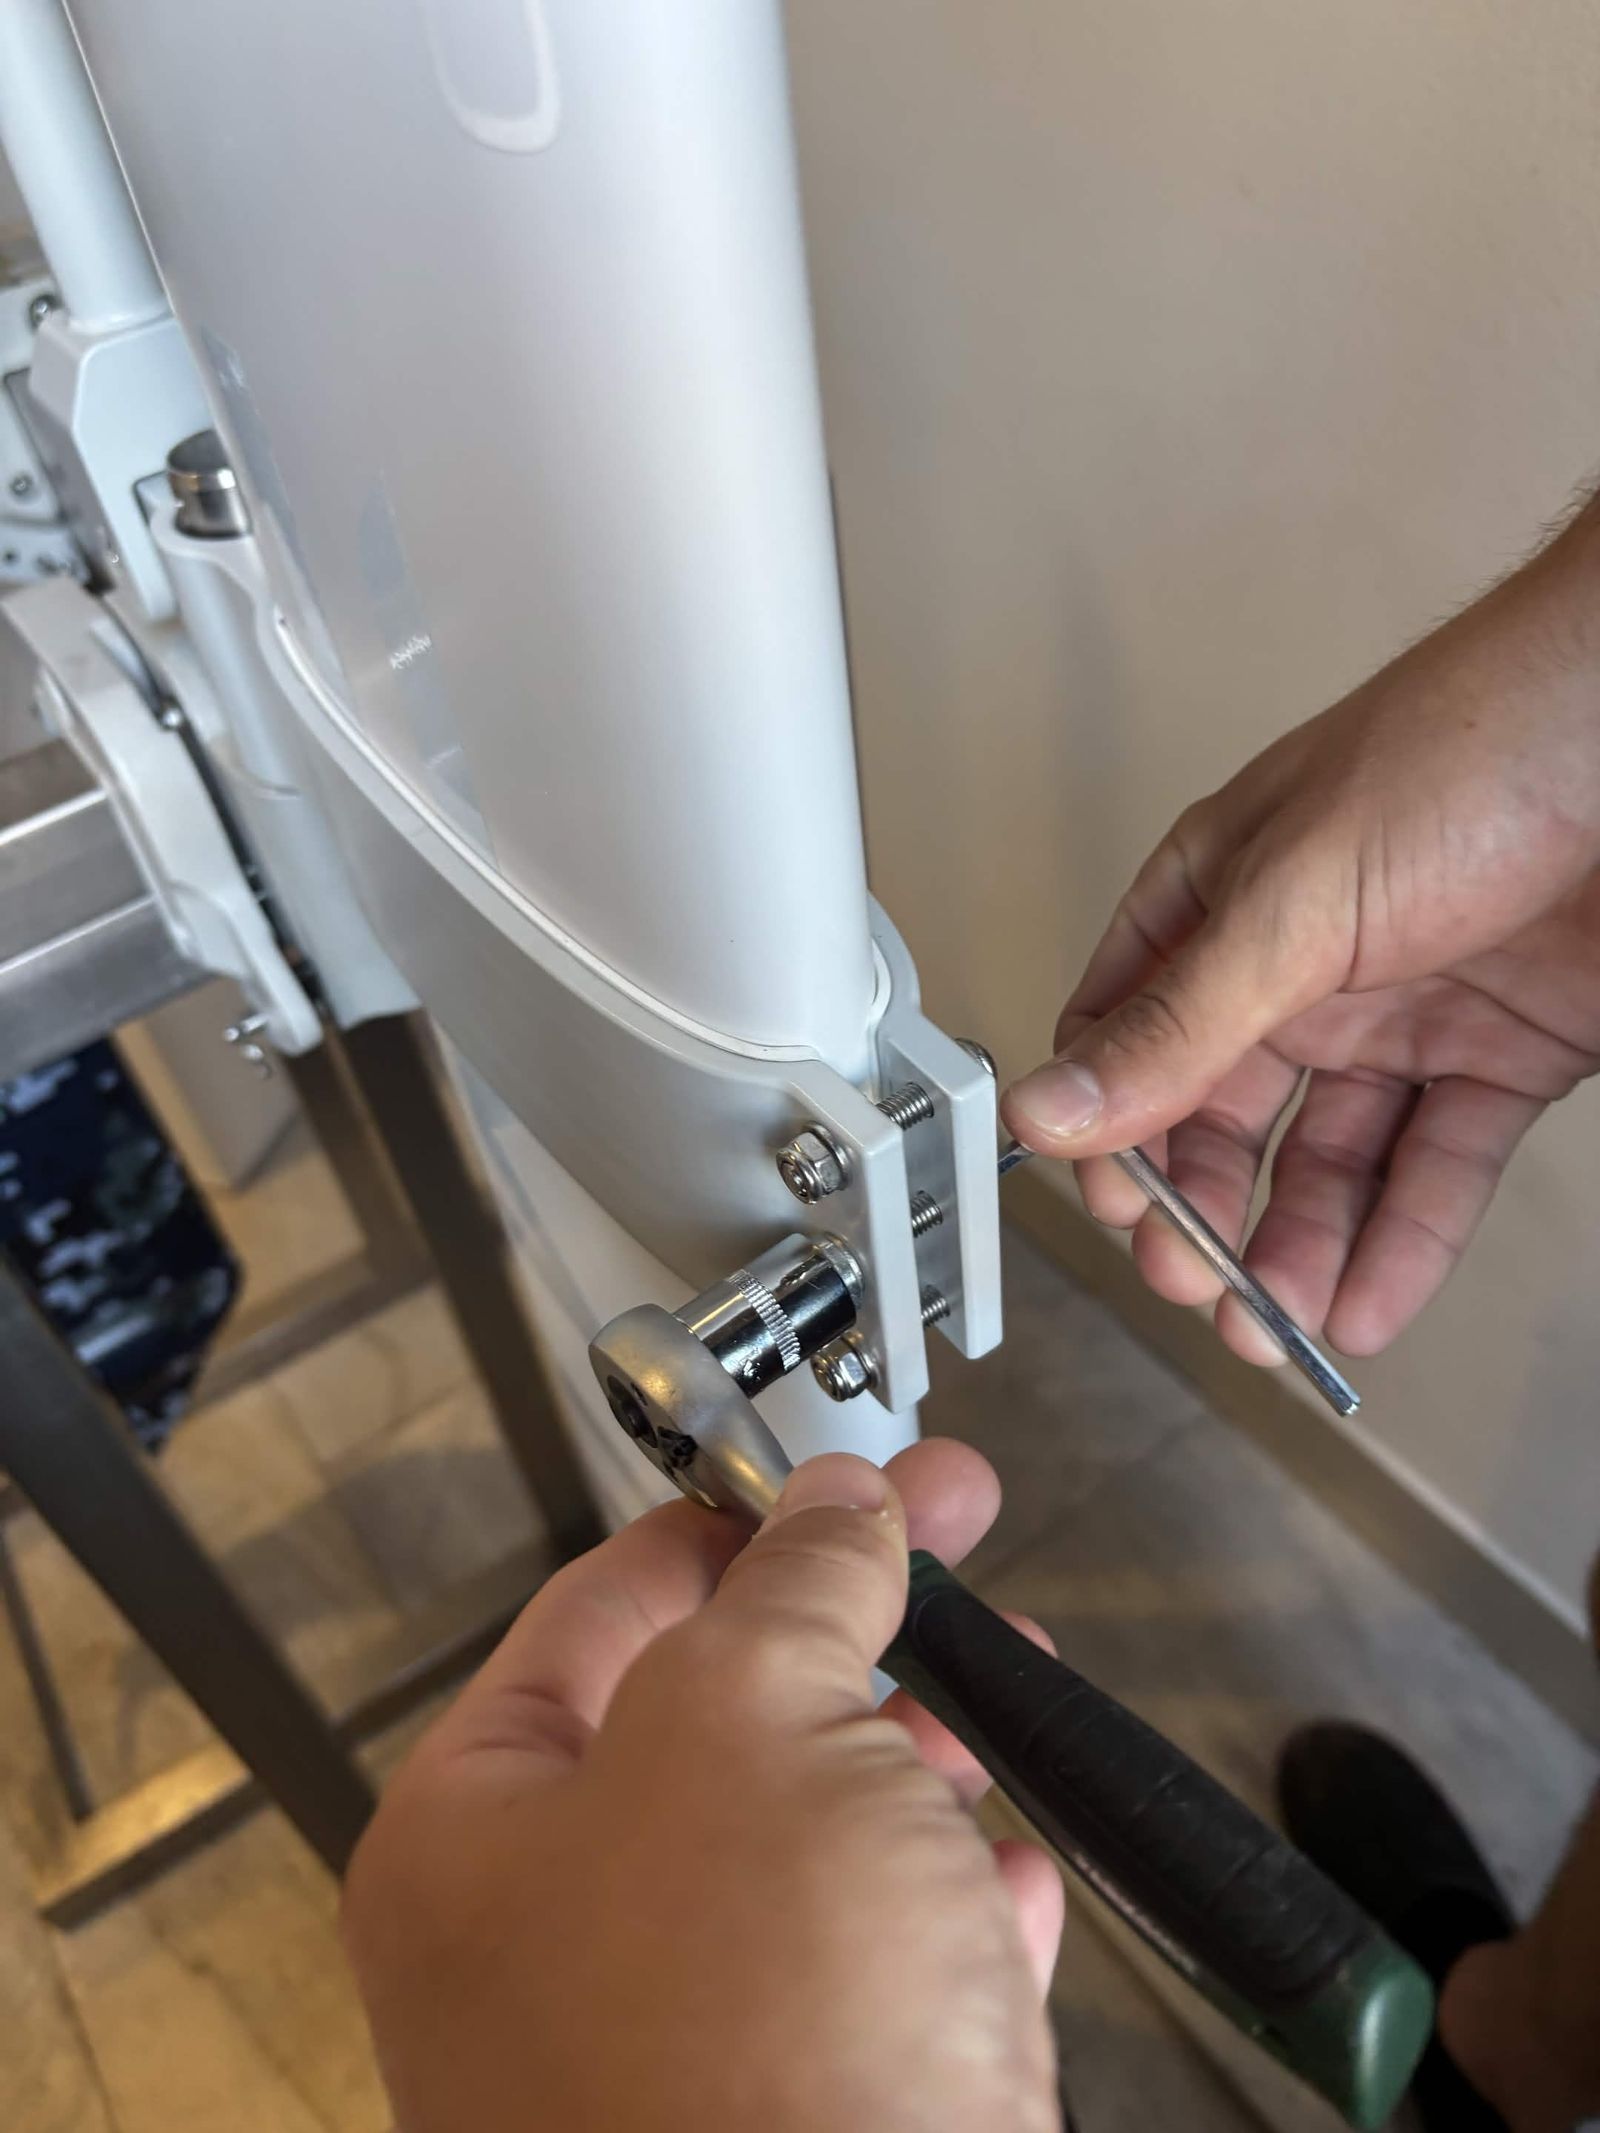
- Position the anode tiller bracket around the tiller tube.
- Insert the three bolts and thread on the nuts at the positions that use one.
- Hold each bolt head with the hex key and tighten the matching nut with the 13mm socket wrench.
Link to originalTODO
Confirm the hex key size, tightening torque, and the exact part numbers for the anode, bolts and nuts.
Color key
Blue = Disassembly · Red = Check · Green = Reassembly